
Difficulty: 2-3/5 depending on comfort level. Get that old busted lighting updated!

A note about this install: I already had electrical junction boxes installed in the wall, so if you need to wire and install those you might want to check another guide for that first.

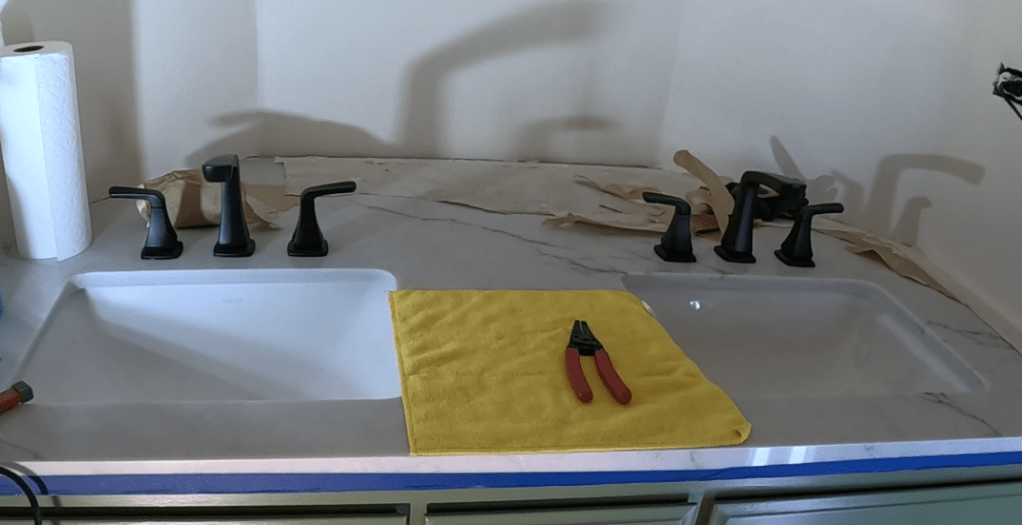
If yours look something like this and you hate ’em, you’re in the right place!

These are the sconces I got from Amazon (linked above/below). The build quality is great for the price, and install was as simple as any light fixture I’ve received from Lowes or HD.

This is everything in the box + the LED light bulbs I got from Lowes. They were on clearance but can’t be dimmed, so hopefully I won’t need that feature.


This is what I’m starting with on one side. At least the drywaller put some masking/protection over it … the amount of times every wire is painted white and needs the copper to be cleaned is astronomical.


Always test your wires for live current. This is a cheapo non contact voltage detector from harbor freight, but there are similar ones on amazon. I always have it in my electrical tool pouch. Test all the wires to make sure you turned off the right breaker.

Luckily this will be as simple and straightforward since I only have 3 wires in the junction box. You may have a bird’s nest in there. One ground (bare), one hot (black), and one neutral (white). Don’t re-use the wire nuts.

Mocking the light mount up to see how it’ll all fit together. It simply screws into the electrical box with supplied screws. These electrical/juction boxes should be FOR LIGHTING as they have a different screw hole location than your typical square/rectangle junction box for outlets & the like. You can get ‘old work’ boxes that are designed to go into walls that are already finished.


One thing I noticed is that these screws on mine felt too long (the ones circled. So when I mounted it up they wouldn’t fit or I couldn’t get the mount screws level. Apparently you can back the screws out into the drywall so it will prevent the whole thing from spinning. I didn’t do that though, I actually got my grinder out and cut the screws down to length.

Green screw is usually for the ground. I also use it to dangle the light fixture while I’m wiring. That’s probably not the right way, you should get a friend to help if you can.

I have a solid copper core wire and a stranded core (many little threads) wire. When connecting them in a wire nut you twist the stranded wire around the solid core in a clockwise fashion (When they are pointed away from you) and then twist on the wire nut on top of that.

Do the same with the other wires. White->white, black->black, ground->ground screw (or other grounds if they’re in there)

Then test fit the light & make sure everything is level and get those little fancy nuts on there snug (not overly tight).

Get the screw-on cap thingie off there and put it inside the screw tool/holder that came with the light (shown below). This is how the glass & sheer lens is held in place.


This was REALLY awkward since it’s kinda tight in there. Luckily I have small hands and could maneuver the tool. I held the outter glass and sheer inner glass up with one hand and screwed the white locking nut thing (already inside the tool) with my other hand. It took a few tries to get it lined up perfectly. If you were installing this facing UP it would be MUCH easier.

The first one took a while, but the second one later took only 1 try.

Test it out and be amazed!

And there you have it. A new more modern look to your interior lighting! Clean up your tools and the work area and enjoy the rest of your well-lit evening.

Leave a comment